Intro: Why Undertale keeps judging you
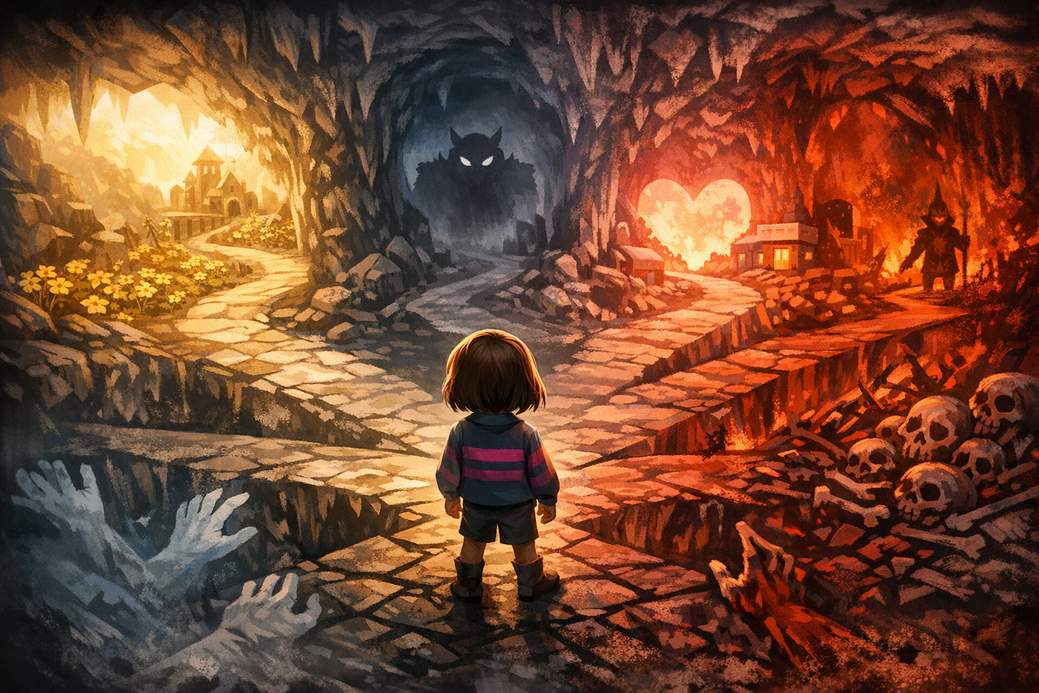
Undertale is basically a game that watches your every move and judges it with varying degrees of existential disappointment. Your choices change everything — enemies, bosses, cutscenes, and endings. There are four main routes you can trigger, and this guide walks you through how to unlock each one without making you want to throw your controller at a flower.
Neutral Route
The Neutral route is the easiest and the one most players stumble into on their first playthrough. It’s the “do whatever feels right” path: you can spare some enemies, fight others, and basically wing it. If you’re trying to see all endings efficiently, a handy trick is to avoid killing anyone on this run and then save before the final boss. That way you can reload and pivot to a Pacifist run without replaying half the game.
Pacifist Route
The Pacifist route is all about empathy, hugs, and avoiding K.O.s — you must spare every single enemy and boss. That sounds mellow, but some fights and story events require careful choices and a few extra steps to finish companion sidequests.
First, be absolutely sure you never land a killing blow. Then follow the character-side steps: visit Papyrus’s house after your encounter with him to trigger his story, handle the Undyne encounter and the later sequence that lets you incapacitate her without lethal force, and make sure you pick up and deliver the letter that starts Alphys’s quest. After completing Alphys’s stuff you’ll get access to her secret area through the lab bathroom. Finish all of those character arcs while keeping your kill count at zero and you’ll unlock the Pacifist ending.
True Pacifist Route
True Pacifist is the deluxe, extra-sparkly version of Pacifist. To get it you must meet the Pacifist requirements (no kills and all the character sidequests completed) and then complete the additional post-game steps that appear after the initial ending — think of it like doing the encore. Follow the extra events and you’ll be rewarded with the full, happier wrap-up that ties up a lot of loose feelings.
Genocide Route
The Genocide route is the flaming opposite of Pacifist: you must intentionally hunt down and eliminate every monster in each area before you move on. This is the most brutal path and it changes the game — permanently. If you go this route, be aware it affects future runs unless you start a fresh save.
To complete a Genocide run you need to clear each zone of its quota of enemies. Typical counts to finish each area are roughly: the Ruins, Snowdin, Waterfall, Hotland/Core, and New Home — each area has a set number of encounters you must defeat before you can progress. Make sure the area says it’s empty before leaving.
Quick Kill/Spare Tips and a Friendly Warning
Want to see everything without losing your mind? Keep a save file right before the final boss and experiment: reload to try different routes instead of replaying the entire game. Also remember the Genocide path has lasting consequences — if you want to get the pure True Pacifist later, either play on a new save or be prepared to jump through extra hoops.
Wrap-up
So there you have it: Neutral if you’re indecisive, Pacifist if you like hugs, True Pacifist for the full warm fuzzy ending, and Genocide if you enjoy chaos (and everlasting guilt). Pick a path, or be like a raccoon and try them all — just back up your saves first.