How to Find Every Legendary Arm
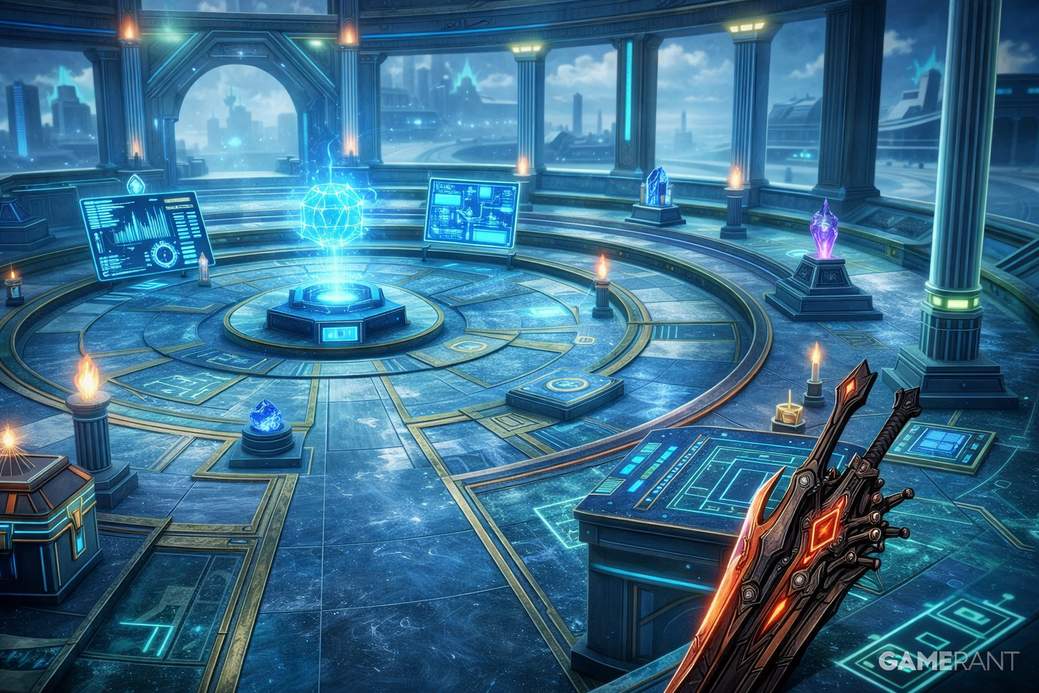
Okay, treasure hunters — Final Fantasy Resonance hides its best toys behind puzzles, islands, airship upgrades, and the occasional mildly inconvenient fetch quest. There are 12 legendary arms total: eight character-specific weapons, three armor pieces (light, medium, heavy), and one accessory. You can’t even start the legendary grind until Chapter 5, when the Chamber of Arms becomes available. The general flow is: find an “Ancient” version of an item scattered around the world, ferry it to the Chamber of Arms (a tiny island north of the Mobliz Shipyard in Dirnado), then beat the trial to forge the real legendary piece.
Ancient Bow (Artemis Bow)
Where: Chapter 5 prep. Talk to Chloe in the Town of Felicitas (she’s at the item shop where the Secrets Unearthed side quest points to). After chatting, she’ll head to the Chamber of Arms — visit her there and she’ll hand over the Ancient Bow. If she stubbornly refuses to leave town, finish her side quest first and then try again.
Ancient Accessory (Gold Hairpin)
Where: Quarry Cave — a small island off Zoldaad’s western coast. Simple chest-in-the-back situation: swim/boat to the island, go into Quarry Cave, and open the backroom chest to claim the Gold Hairpin.
Ancient Cloak (Lordly Robes) and Ancient Tome (Last Resort)
Where: Merchant Ship. These two are purchasable from the roaming merchant ship (the Ancient Cloak costs 40,000 gil and the Ancient Tome costs 45,000 gil). The ship cruises several sea spots — southeast of Gronoa, west of Olderion, south of the Sanctum of Tidus, southwest of Zoldaad between Zoldaad and Mysidia, and east of Kolobos Ruins in Grandshelt. Tip: the merchant vanishes after you buy something, and the ship carries other rare goods too, so you may need to track it down multiple times.
Ancient Whip (Fire Birch) and Ancient Firearm (Arcturus)
Where: Oblivion Palace rewards. Both are chest drops tied to how many Tablet Shards you collect in the Oblivion Palace. The Arcturus firearm unlocks at about 76 total shards (Room 3, Chest 4), and the Fire Birch whip comes later around 84 shards (Room 3, Chest 6). Collect shards, open the right chests, done.
Ancient Greatsword (Ragnarok) and Ancient Cuirass (Tatenashi Armor)
Where: Colosseum in Grandshelt. These two are league rewards. Beat the Fledgling League fights (complete Battle 3 in that league to get the Ancient Greatsword) to unlock higher leagues. Once you conquer the Brawler League and finish its final fight (Brawler League Battle 5), the Ancient Cuirass drops as a reward. Arena time!
Ancient Rod (Wizards’ Rod)
Where: Abandoned Cabin in the Kingdom of Pharm (northeast of Sian). The cabin chest is locked — grab the key from the man standing outside the inn in the Town of Sian, then open the cabin chest for the Rod.
Ancient Hammer (Thor’s Hammer)
Where: Requires airship radar upgrades (so this one’s gated). You need the second radar upgrade, which uses the Resonance Stone. The Resonance Stone is in a chest inside Mt. Reizan in Pharm. Once you bring that stone to Lid on the airship she’ll install the upgrade. If you missed the very first upgrade earlier in the story, you’ll need the Magi-tenna (obtainable from the Hiding Man under the stairs in northeastern Gronoa — Gaberada). With both radar upgrades in place, use the airship radar while over the ocean south of Noctis’ Sanctum in Dirnado to locate the Ancient Hammer.
Ancient Garment (Mirage Vest)
Where: The first airship radar upgrade is enough for this one. Activate the radar slightly southwest of Gronoa’s entrance and you’ll pick up the Ancient Garment’s location. Quick, cheap, radar-assisted loot.
Ancient Katana (Sasuke’s Blade)
Where: Crystal Tower. Push through until you reach the Middle Reach save point — the Ancient Katana sits in a chest just to the left of that save spot. Classic treasure-in-the-tower routine.
How to Complete Every Legendary Arm Trial
Once you haul an Ancient item into the Chamber of Arms, you’ll trigger a two-phase battle trial to craft the final legendary gear. Each duel is built with unique mechanics and counterplay, and the default fights are level 50. After you beat all trials once, you can rematch upgraded versions of each at level 75 for a stronger variant — so expect to grind levels and MRP if you’re chasing maximum power.
Artemis Bow Trial (Ancient Bow)
Opponent: Dabih plus two buddies. Phase one sees Dabih buffing allies while the Warlock and Cultist fill magic and physical roles respectively. In phase two enemies change weaknesses and become interruptible with wide-area stagger moves, so plan your sweeping stagger and elemental attacks accordingly. Clear the fight and you earn the Artemis Bow — a hybrid weapon with solid physical and magic numbers and a few handy support perks like MP restoration and stronger heals.
Gold Hairpin Trial (Accessory)
Opponent: Brachium. This fight is a magic-and-status menace: heavy evasion shifts, counter-attacks when it dodges, instant-death shenanigans, and a nasty set of debuffs it drops mid-fight. In phase two its specials scale based on how much damage it took between moves, so pace your hits and bring dispels/cleanses. Win and you get the Gold Hairpin, which boosts magic and drastically reduces MP costs.
Lordly Robes Trial (Ancient Cloak)
Opponent: Shaula. Shaula flips between physical and magical modes, shortens its mode timers when whacked, and loves inflicting status ailments. The second phase locks out attack types depending on its mode, so be smart about when to hit physically vs. casting. The Lordly Robes reward grants hefty defenses and the nifty ability to let magic affect Reflected targets.
Last Resort Trial (Ancient Tome)
Opponent: Elnath. Expect an armor-plated boss with an annoying countdown mechanic and extra arms that change the main body’s defenses when defeated. The arms themselves boast extreme physical or magical defense and can overwrite Elnath’s resistances when downed, which means you need a plan for which arm to take out first and how to handle that enraged state. Beat it and you get Last Resort — a staff that helps charge your LB and extends buff durations.
Fire Birch Trial (Ancient Whip)
Opponent: Nunki. Elemental tango: Nunki shifts weaknesses and may absorb elements at different HP thresholds, then becomes enraged after repeated staggers. It’s great to bring a mix of debuffs and status spreaders because the Fire Birch’s payoff increases with targets already afflicted. Victory nets a whip that amplifies damage versus debuffed enemies and lengthens your inflicted debuff durations.
Arcturus Trial (Ancient Firearm)
Opponent: Alhena. This one flips elements and toggles defensive modes: it resists some elements, will nullify magic (until staggered), and changes element after certain hits. Phase two swaps which attacks it nullifies, so stagger windows are prime time. Winning gives you Arcturus — a firearm that fills LB, bumps luck, and packs high physical attack.
Ragnarok Trial (Ancient Greatsword)
Opponent: Alpherg. Alpherg plays annoying reflect tricks early — it can reflect magic and even use reflective mechanics on allies — so creative use of support/offensive magic can turn the reflect back on him. Later it drops reflect, goes multi-action, and becomes weak to other elements, so switch your element plan mid-fight. Ragnarok raises stagger power and boosts non-elemental damage if you pull it off.
Tatenashi Armor Trial (Ancient Cuirass)
Opponent: Sadalsuud. This boss swaps elemental weaknesses and spawns wings in phase two (four colored wings with shifting absorptions). Each destroyed wing changes the boss’s traits and grants it buffs, so choose the order you knock them off wisely. You can also use Lid’s Mechamog scan to lock in a helpful weakness ahead of time. The Tatenashi Armor gives top-tier physical defense, some magic defense, and blocks instant death — at the cost of speed.
Wizard’s Rod Trial (Ancient Rod)
Opponent: Sheratan. Sheratan likes status ailments and buffs itself with fruit in phase two. It’s immune to some elements, so fire attacks tend to work best. The reward, Wizard’s Rod, greatly favors magic users and even gives a chance to dodge enemy spells.
Thor’s Hammer Trial (Ancient Hammer)
Opponent: Tegmine. A tanky bruiser that counterattacks and sports massive defenses; staggered windows remove its damage reduction so you’ll want hard-hitting staggers. Phase two adds sweeping debuffs through a move called Stupefying Wind, so bring cleanse and high single-target pressure. Thor’s Hammer gives a stagger and crit-focused damage boost when you land physical crits.
Mirage Vest Trial (Ancient Garment)
Opponent: Vindemiatrix. Expect multi-action turns and MP-drain counters; the boss acts less often as its HP drops but throws dangerous MP-sapping moves (and will incant stronger skills after repeated drains). It also penetrates Reflect, so don’t rely purely on that trick. The Mirage Vest is a great mid-tier armor that can null one big hit per battle.
Sasuke’s Blade Trial (Ancient Katana)
Opponent: Aldhafera. Quick and dangerous: watch for charged attacks that target low-HP party members and mechanics that reduce damage taken depending on attack cadence. In phase two, stagger opportunities and charge timing are critical — hitting the stagger at the right moment is deliciously rewarding. Sasuke’s Blade boosts crits and gives a chance to evade physical hits, making it perfect for aggressive fighters.
That’s the roadmap. Find the Ancient pieces, schlep them to the Chamber of Arms, and then tailor your party, elements, and stagger strategy to each trial. Be prepared for rematches at higher levels if you want the ultimate versions — and remember: save often, bring dispels, and don’t forget snacks.